Quality Assurance System
At Aoi Spring, we have combined our expertise with that of electric machinery manufacturers and auto parts makers for more than 60 years. That hard-won experience and knowledge enables us to meet the customers’ stringent quality control demands. We do this through testing equipment, our testing regimen and statistical methods, as well as by implementing the ISO 9001 standard and other means.
Design
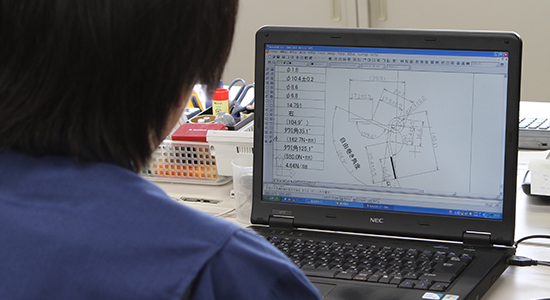
Produce production drawings based on information from the customer.
Select the best processing machinery and design processes suited to the product.
Before Mass Production
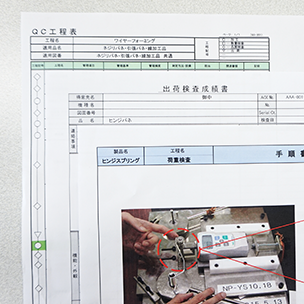
– Configure test standards.
– Prepare operating standards, QC process chart, and other forms.
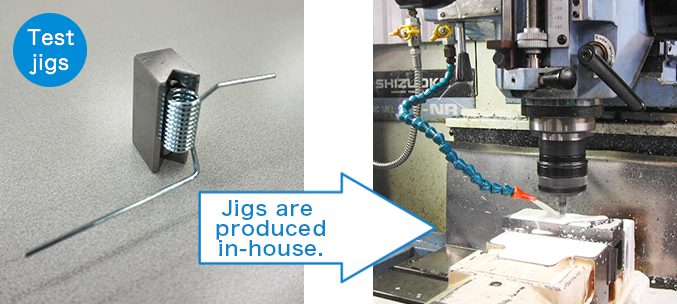
– If test jigs are needed, we will design and produce dedicated jigs.
– Using specifically suited jigs eliminates measurement errors and enables efficient inspection.
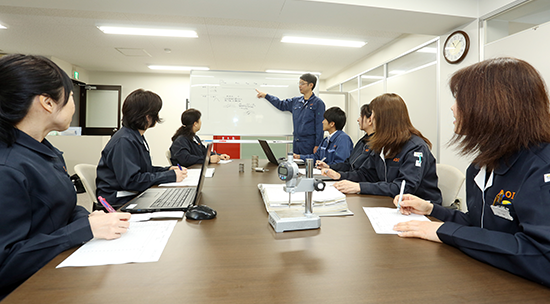
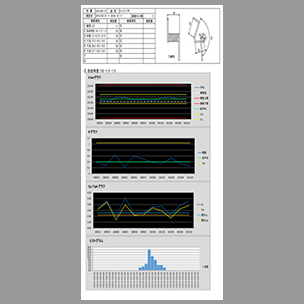
– To ascertain the accuracy of product dimensions, determine process capability (Cp & Cpk).
If process capability is lacking, redesign process.
– Analyze and assess issues in advance with FMEA; deal with anticipated problems at this stage.
Mass Production (Testing Regimen)

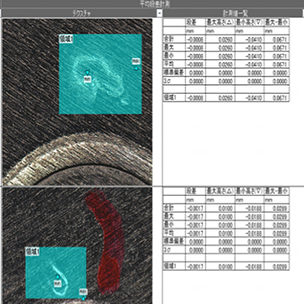
To check appearance, we use a 3D shape measuring device when a visual check proves inconclusive.
Scratch depth, burr size and the like are given numerical assessments.
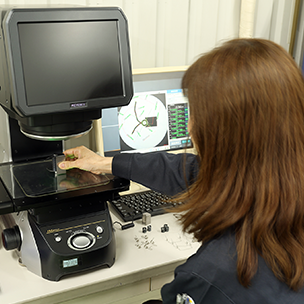
We use an image dimension measuring system to inspect dimensions so we can measure multiple dimensions simultaneously.
This also eliminates deviation that arises from manual inspections.
Testing Equipment
We do not skimp on investment, and our facilities are equipped with the latest testing devices.
We set up profile projectors, image dimension measuring systems, and load testers for both the production and final testing processes for a comprehensive testing regimen.
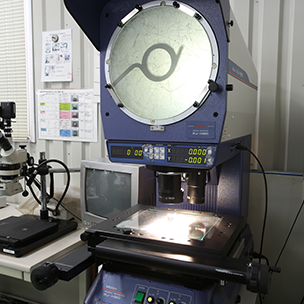
Profile projectors: 2
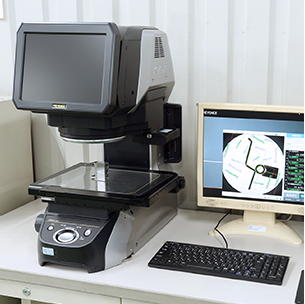
Image dimension measuring systems: 2
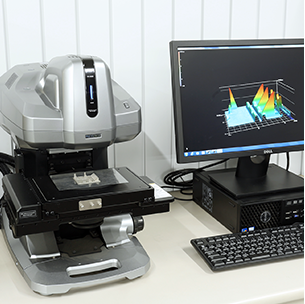
One-shot 3D shape measuring devices: 1
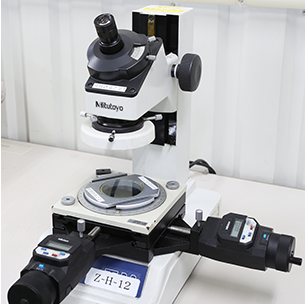
Measuring microscopes: 2
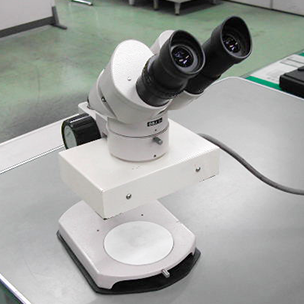
Appearance check microscopes (x20): 4
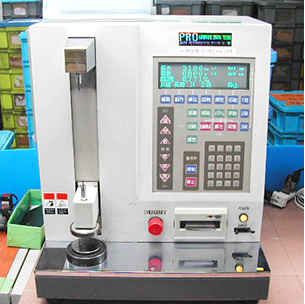
Load testers: 3
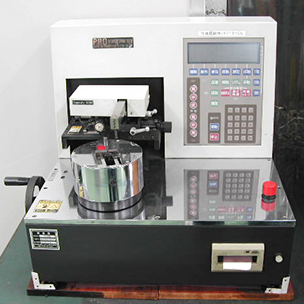
Torque load testers: 1
Quality Auditing
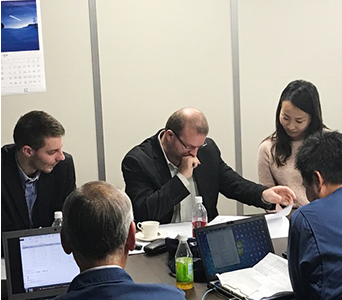
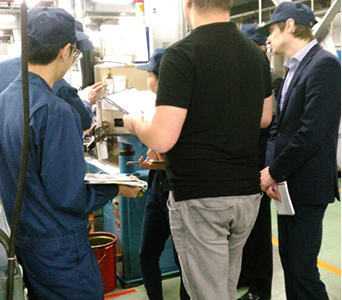
We undergo four or so quality audits a year from major manufacturers of electric machinery and auto parts.
Recently, we have undergone quality audits from automotive parts manufacturers outside of Japan.
We have passed these audits and received mass production certification.
We work hard every day to boost quality by exchanging ideas with our many customers through quality audits.

